Friday, October 17, 2008

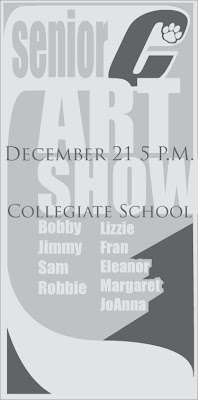
Fake Art Show


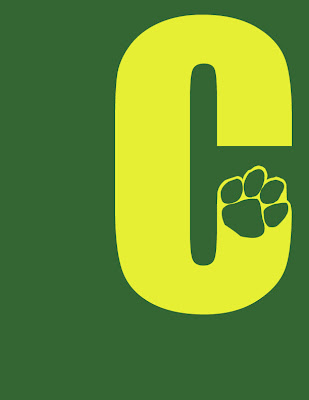
In order to draw more attention to the ad, I felt like it was important to make the eye move a bit differently than it does on the rest of the page. Of course, when the eye is reading the body copy in a newspaper, it goes from left to right and then down, and repeats. It generally gazes at the bold or larger headings and sub-headings first. Then, it moves on into the smaller copy and continues its routine. Now, ideally, an ad with a simple logo like the Collegiate C that I have designed, will, if that "C" gets enough public exposure, be immediately recognized. And, rightfully so- I think that it reads much more boldly than their Collegiate School logo that they have spelled out. So, if that "C" can direct a reader to the ad that we have, 3 columns wide and ten and a half inches tall, then the reader can go from there. Ideally, the reader could go down the list, and then, when their eye gets to the bottom, they follow this virtual "ribbon", coming from the "C", back up to the top, at which point their eye might more aptly move to the date and location of the art show. I am wondering if this aptly translates visually here. It's an idea.
I don't know- I am also pretty interested in the idea of running these logo ideas by my old art teacher- I have the luxury of a pretty well-supported and enthusiastic art program at my old high school. Shis won't necessarily end up being taken into serious consideration for an actual logo change at the school, BUT- I feel like it will be rewarding to actually talk to people in the program at the school about just why it is that they are in support of the current logo, or how they feel about it, etc. I have already run it by Mary, my high school art teacher.

Monday, October 13, 2008

Okay one more

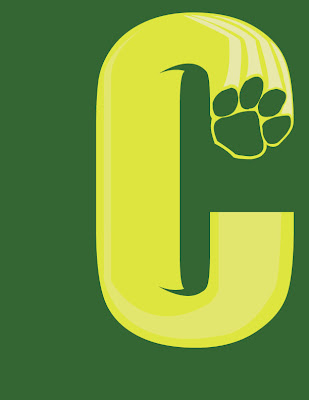
This one looks like it's rolling, or moving more quickly-- forward. There wasn't an italic option for the font called IMPACT, which is where I got the C from in all of these permutations of the Cougar C... so I just took the C, at about 300 points large, and "expanded" it.... then sheared it 20 degreesto the right. Now, it's a speedier C. Plus the movement lines make it look more direct and aggressive. It, nonetheless, looks more modern and aggressive, dynamic, yet retains a bit of its classic iconography.

Option 6

So there's the high-lighting path made lighter. I don't know. There's something not too graceful about the way this highlight operates within the C. I think that I would just go with option number 4. It really works best, in my opinion.

option 5

Here is another one. It's essentially an expansion on the theme of movement. I don't know if I think the contrast is enough. I will try it with a lighter high-lighting yellow.

Option 4

So here's the alternative- I think that, to some degree, it looks like the C is rolling from left to right... forward. Maybe I could expand on that a bit.

Option 3

I am toying with the idea of some very simple, very slight notions in the C of motion.
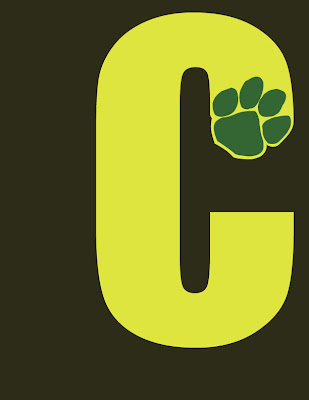
However, when I put these lines in, it made it look like the C could, conceivably-- be rolling to the left. Now, in terms of how we read this image, letters that progress- go to the right. At least in the English language. We read from left to right, and that's progress. SO, I think that maybe I should apply this stuff to the other pawed C... the one with the paw up on top of the C stroke. Then, maybe- it will look like it could be rolling forward- left to right. Let's see.

Option 2

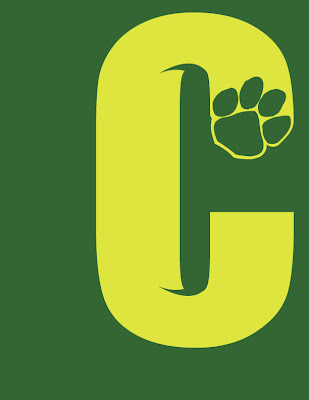
This is another one. I am more interested in the alternate placement of the paw, at the top of the C stroke, as opposed to on the bottom, than I am in the background's olive color. But- I wanted to see what a contrast from the background, versus the colors of the C would do. I think that it could go either way. As simple as possible does the trick. So, I would like this image more if there wasn't that olive green background... I will stick to the classic green that's in the paw itself.

One option

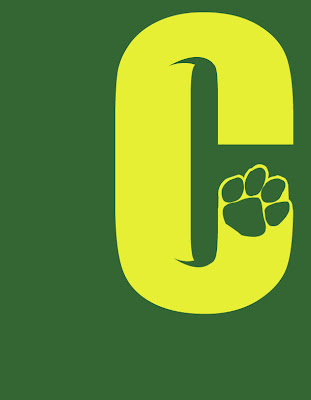
This is one. I feel like it's very readily legible, and recognizeable- apt for display on a football helmet or the sleeve of a baseball jersey, etc.
I wanted to keep the colors within the green and gold range. Those are the school's colors.

Original Collegiate School generic Paw Print

This is the original paw-print logo that Collegiate School, the high school I went to, used on their sports jerseys. It's really monolithic, yet extremely generic; this paw-print icon has been used by countless sports teams from pee-wee soccer to high schools everywhere to colleges and professional teams. Being that the school aimed its teachings at, ostensibly, NOT being generic, I thought that there was a way to expand on this image. Essentially, I think, that what Collegiate intended to do with this logo, at least at the time, years and years ago when the icon was chosen, was not only represent the idea of the very aggressive and stealthy cougar as an animal, but also, they intended to show that Cougars, from Collegiate, are going to put their print, their mark, their "paw-print" on society. The irony is that so many other people chose this logo too- rendering it devoid, in this context, of any groundbreaking meaning as an image- it's rendered a platitude nowadays. It's a logo that just looks slapped on the helmets and jerseys. On the other hand, I felt like there would definitely be something missing if we just totally removed the paw print from the iconography. I thought, well, yeah-- the paw print has been used a million times, but it looks like all those other teams are doing the exact same thing with the paw print. Collegiate could show that, as a school, we can, metaphorically speaking, do MORE with the paws that we have been given. I thought- hey, why not add some movement to that paw, make it dynamic, but retain its basic properties? And it should be noted, also, that this paw print, the one that was omnipresent around school when I was going there over 10 years ago, now seems down-played. I didn't see the paw icon anywhere on the school's website main page. I think that there's a way that they could bring the image back.
Plus, the new connotation of the word "cougar" is a bit gawdy... thus, if any school needs to retain the image of the paw print, to show that we represent the spirit of the animal and not the divorcee'. I'm kidding around.

Tuesday, October 7, 2008

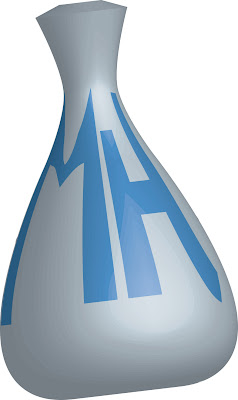
Vase.

I worked on the vase, straight fro the tutorial. I decided to go with a pretty thick stroke, I think about 20 or so pixels. I made the stroke itself a gray color. Then I went to the effects menu at the top, scrolled down to 3D, and chose "Revolve". It was interesting to see how it all worked... basically it takes your line and spins it in a circle to create what's in effect a virtual vase. I thought that it would be cool to create my own logo, so I made my initials and added that to the "symbols" menu. When creating the vase shape out of that one curved line, I selected the "map art" button and decided what symbol to put where. I chose my own, and put it on the outside face of the vase. Apparently this is easier to do if you have a thick stroke, since you can actually discern whether you are putting your symbol on the outside rather than the inside of the vase. And I noticed that a few people were having problems with the color of the vase... it's always going to be the color of the STROKE, rather than the color fill-in. Anyway. A vase...
I also applied the shading to the initials on the vase.


Wednesday, October 1, 2008

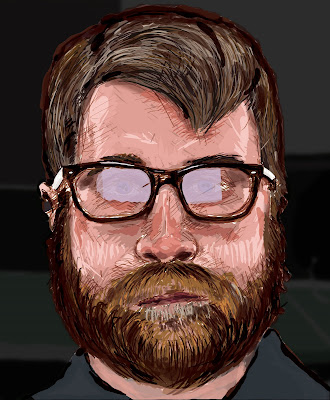
Re-worked Digital Self-Portrait

So, I went back and re-worked a few of the elements of my digital self-portrait. I had saved
this as a .psd before and was irritated to find out that once I saved it and wanted to get back to it on my computer... the layers had, for some reason, been eliminated. I made a mistake somewhere in there. I wanted to reduce the opacity of the glare in my glasses, but it was impossible to do this directly; I could have adjusted the color or saturation of those glare areas, but it wouldn't have made any difference-- my eyes would still be washed out. So I went in and took the background down a few notches. I think that helped a bit. Then i went in with the paintbrush at a low opacity and dealt with the white frosty little areas on the outskirts of my beard and head where I had pasted the head from a white original background that I'd been using initially. I think it came out okay.